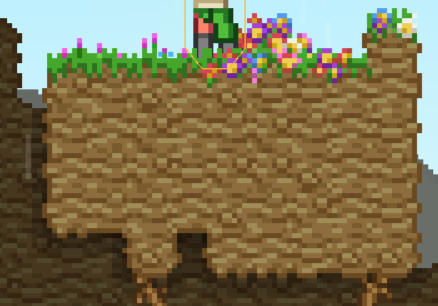
When digging through Starbound's assets, the assets for dirt had two rows. A top row that was 8x8 pixels and a bottom that was 12x12 (See image):
Now I know that they're not just simply being placed next to each other and told "look good or else". Since in the image below we can see the borders are in some way removed when there's like tiles connecting (dirt by dirt).
I get further confused when trying to figure out what the 8x8 tiles are for. I know about sub-tiling and doing multiple layers. I feel like I'm close to having an idea of how to implement something similar but I have struggled with piecing my understanding of the subject, the evidence, and the great knowledge of the internet together.
Any help with direction is appreciated. Thank you.
Edit: Progress in Understanding, but would love labels for their technique(s)
So I went ahead and made a mod to replace one block's texture (in this case Sand) with differing colors for each of its 5 variants.
In-Game:
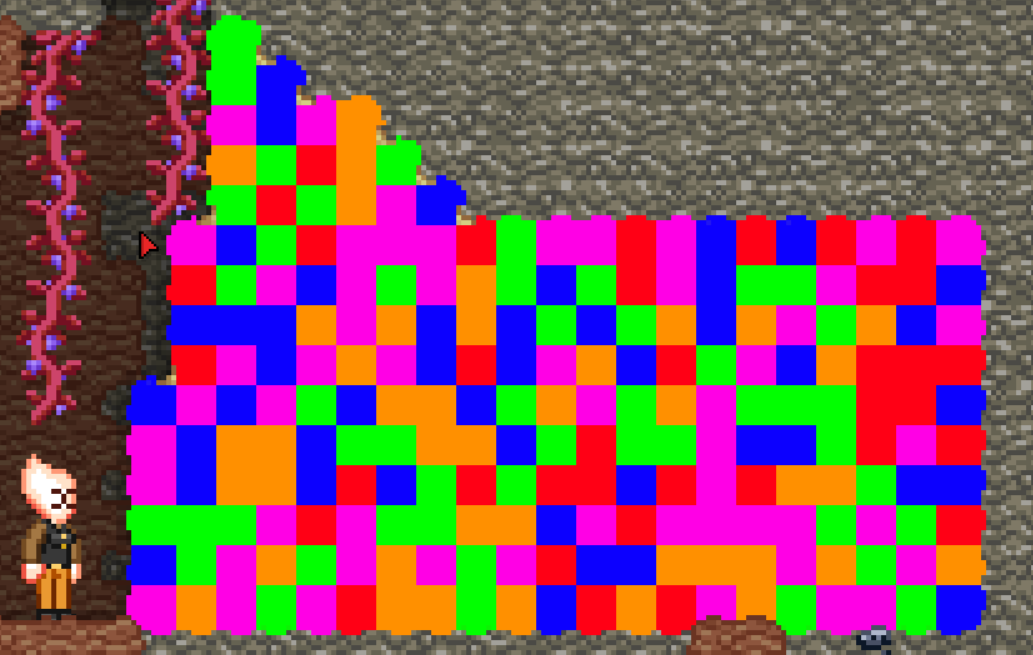
I believe the variant placed in proximity to another block is pseudo-random. In that, it doesn't matter what variant is placed because they are designed to all just work together. This became evident after I saw the colored sand in game and decided to manually connect the variants in random configurations.
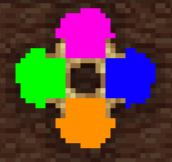
I also learned that the tiles that are 12x12 have an area of 2x12 pixels cut off, or a slice of two pixel in the direction that a connecting block connects. Then the 8x8 part of the two blocks (the main part) connect to one another in a loving kiss of sophisticated numbers.
I was also able to figure out what they do with those pesky 8x8 outlines that look like cardboard boxes on their side. They use them, or part of them, to connect corners. If you look at the next screenshot it's quite easy to see with the rainbow colored "sand".


