0
\$\begingroup\$

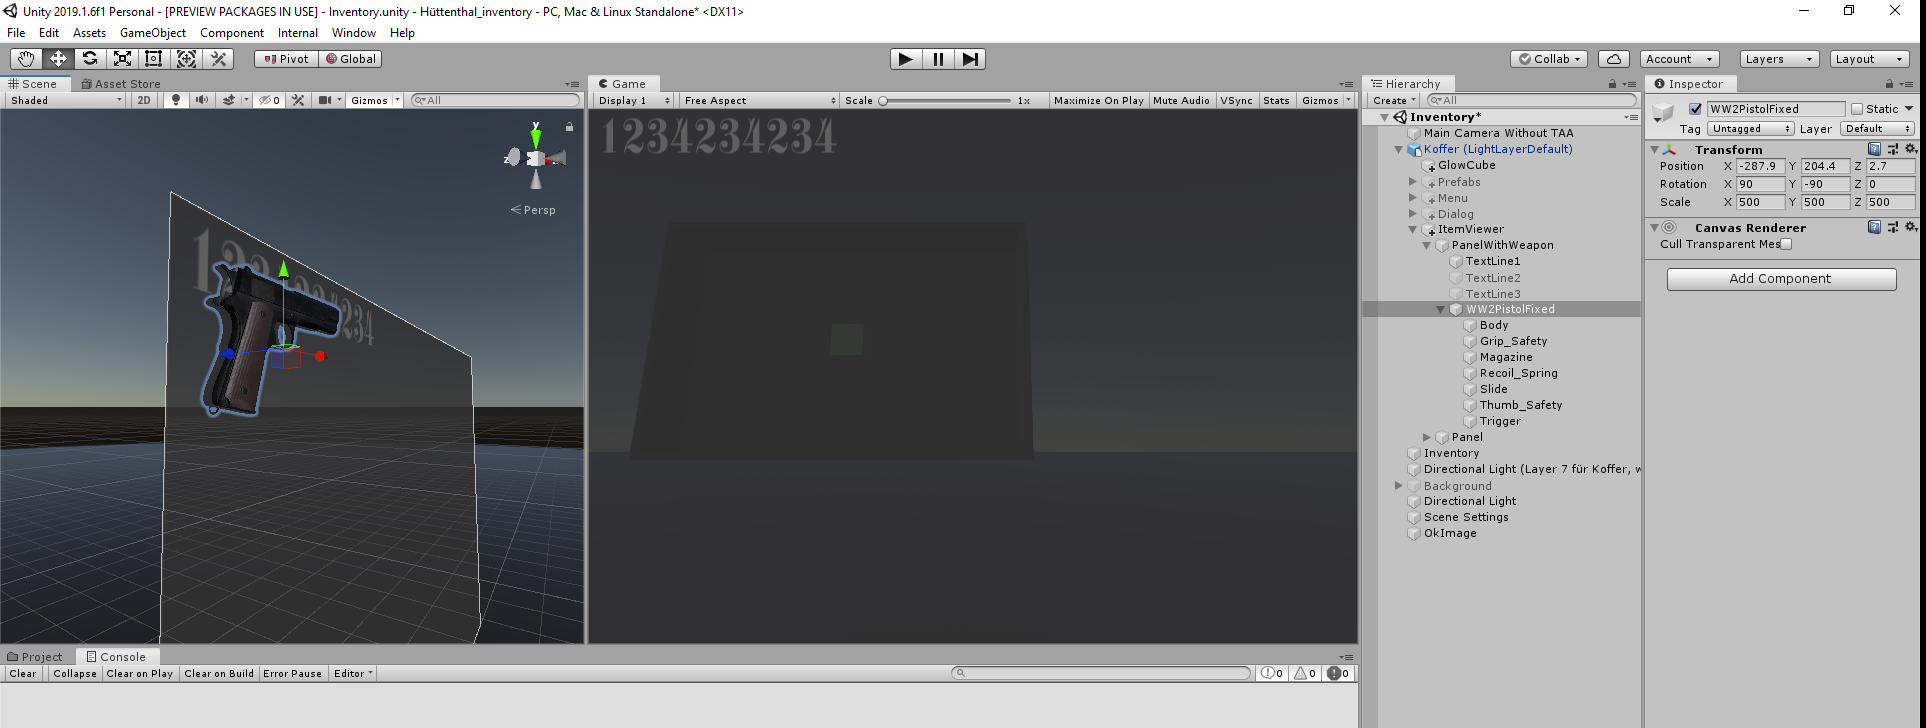
I have created a Screen Space Overlay. This Screen Space Overlay panel hosts 3 Texts. This works fine.

Then I tried to show a mesh on this Screen Space Overlay.

First, I simply added it as a child of the panel. Since this didn't show it, I added a Canvas Renderer to the mesh. This also didn't help.

What might be the culprit here?

Thank you!

enter image description here

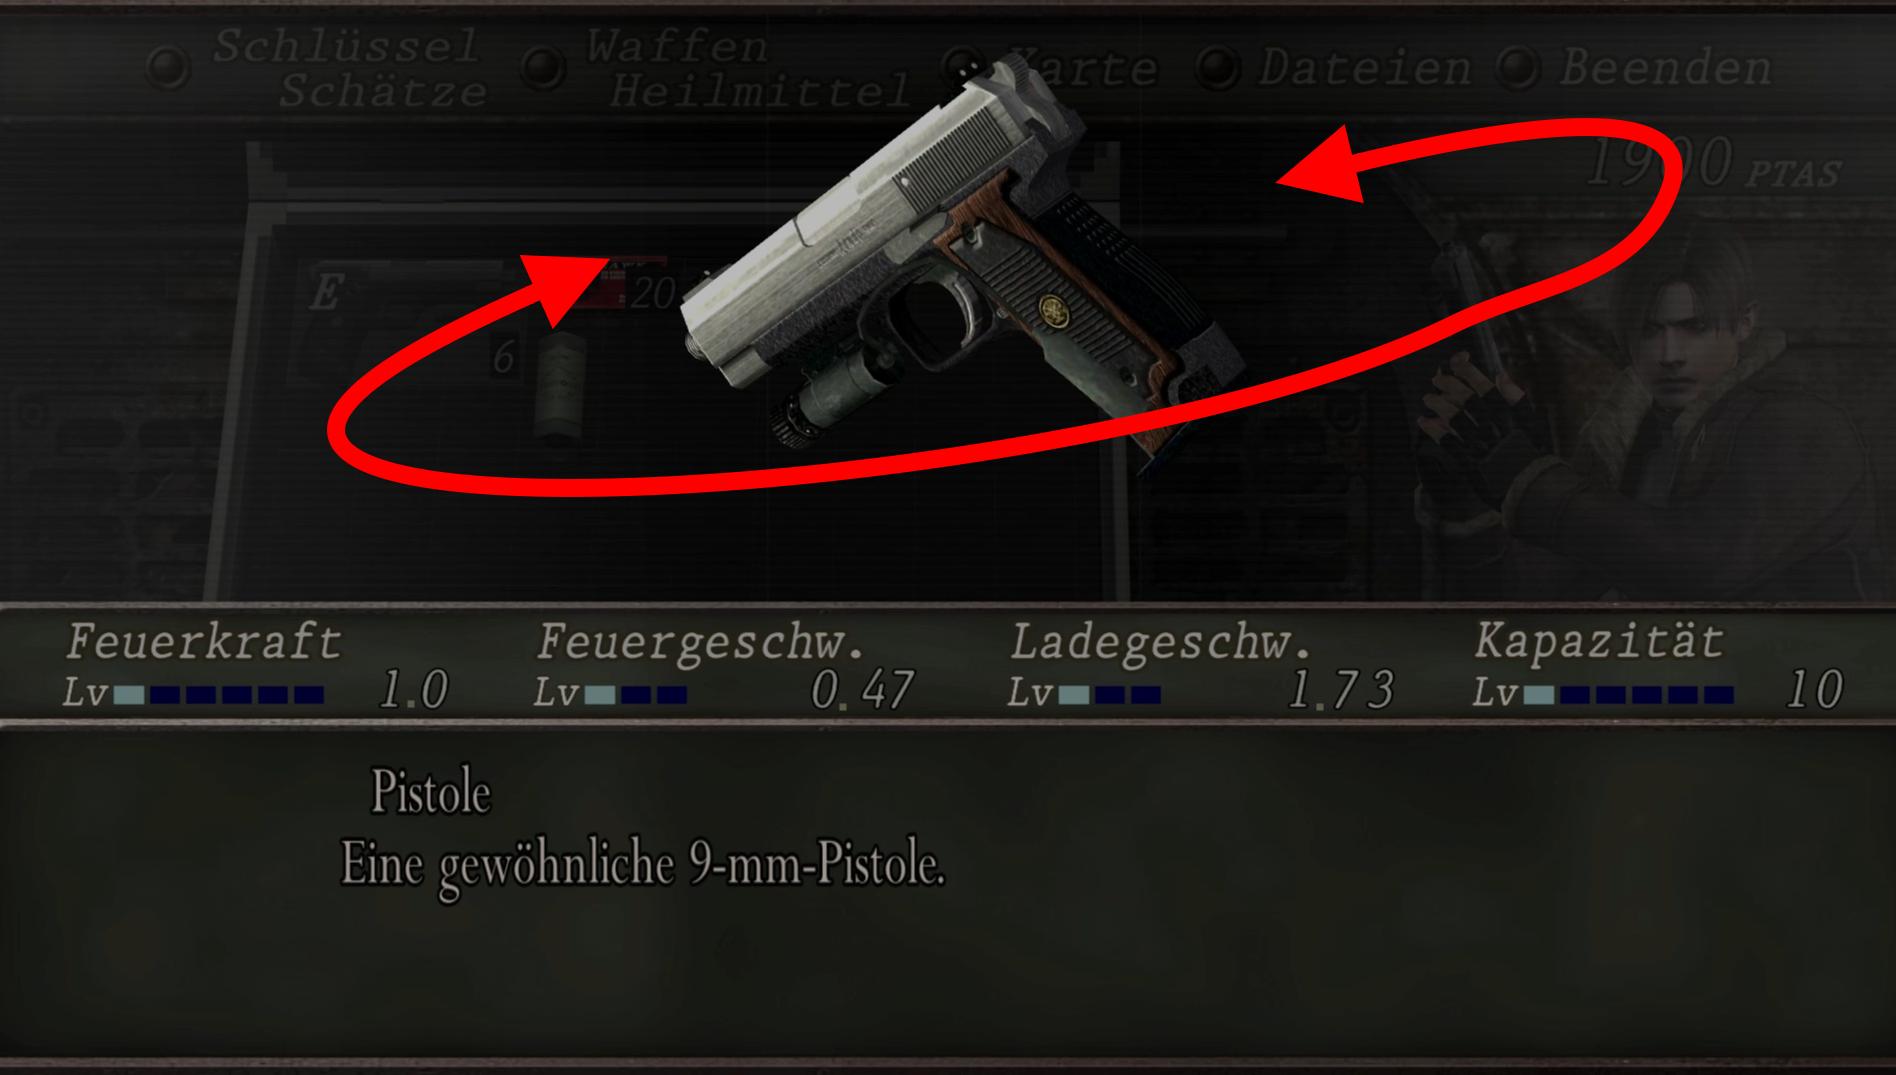
ps: What I'm trying to achieve is a mesh rotating in front of the user's eyes like this:

enter image description here

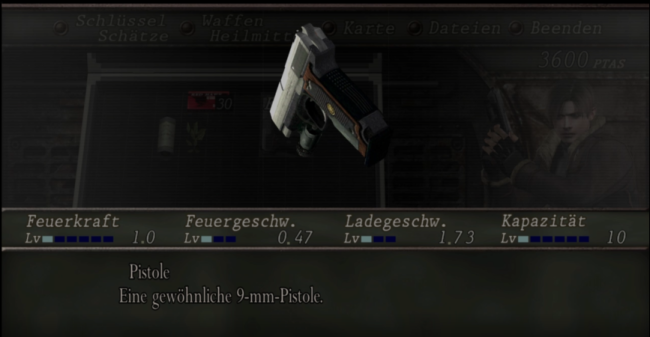
This a sequence of what happens in the original scene that I try to rebuild: enter image description here
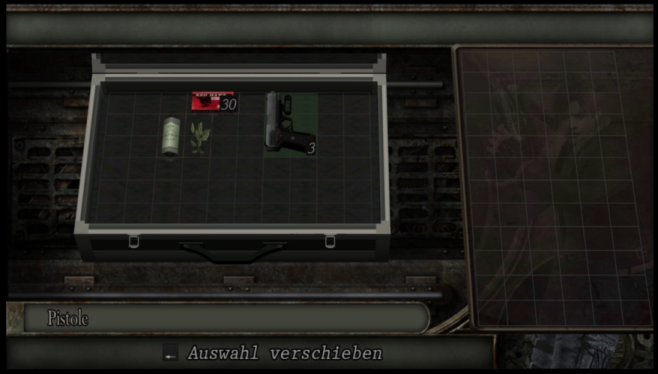
enter image description here

One can see that as soon as the item is being inspected, a (very likely a screen space) overlay is shown, and the original scene gets dark. Also the selected item is shown and is rotated continously.

I imagined that it is a screen-filling screen space overlay which has an image. The upper menu of the image is filled with a color with 50% alpha in order to blend the background out.

I imagined that the weapon was then rendered in front of the screen space overlay image. If it was behind the the screen space overlay, it would be dim / greyed out like the rest of the scene.

That's how I came to think that the weapon was part of the Screen Space Overlay.

I know now that this isn't so because a Mesh Renderer can't be rendered in the UI "pass", but I would anyway like to know how this could be done.

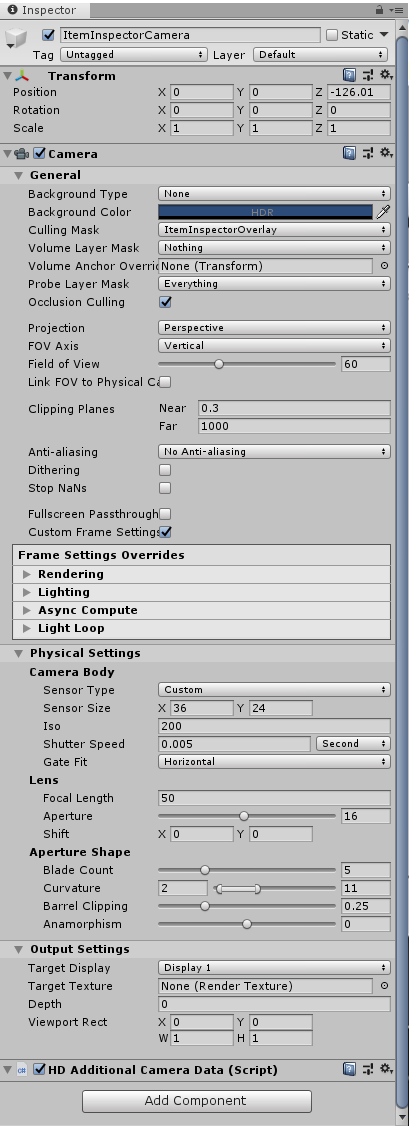
Edit: Here is a screenshot of an HDRP camera:

enter image description here

\$\endgroup\$
3
  • \$\begingroup\$ Screen Space Overlay is a mode of a UI Canvas, for rendering UI components. A MeshRenderer is not a UI component. So you cannot use a Screen Space Overlay Canvas to control the position of a MeshRenderer. A mesh will always render according to its world position and the perspective of the camera(s) viewing it. What are you really trying to do here, and why would it demand placing the mesh inside the canvas in the first place, rather than simply placing it in your world in front of your camera? \$\endgroup\$
    – DMGregory
    Commented Jul 26, 2019 at 21:34
  • \$\begingroup\$ I have edited my question to show what should happen in the scene (including greying out the background). Thank you for the MeshRenderer / UI component info. \$\endgroup\$
    – tmighty
    Commented Jul 27, 2019 at 0:27
  • 1
    \$\begingroup\$ Note that you're doing the XY problem thing again here. Instead of asking about the feature you want to achieve "How do I show a rotating model in the middle of my menu" you're asking about your guessed-at way of achieving it "How do I put a Mesh inside a Screen Space Overlay Canvas" and your guess is wrong. So, don't guess. Just ask about the thing you want to ultimately accomplish, not a specific way of doing it that might or might not actually be a possible/good solution. \$\endgroup\$
    – DMGregory
    Commented Jul 27, 2019 at 4:04

1 Answer 1

2
\$\begingroup\$

The Unity documentation defines a Canvas like so:

The Canvas component represents the abstract space in which the UI is laid out and rendered. All UI elements must be children of a GameObject that has a Canvas component attached.

"UI elements" are the types in the UnityEngine.UI namespace, including:

  • UI Image & Text display components
  • UI widgets like buttons, sliders, input fields
  • UI layout group components

Notably absent: MeshRenderers. These are part of your 3D scene, not UI elements. You render them through a camera, like you do with the rest of your 3D scene.

In the old rendering pipeline, we can just add a second camera to render the rotating object on top of the scene after the rest has been drawn. For HDRP, we'll need to draw it to a texture first, then show that texture, like so:

  1. Create a new layer under Edit -> Project Settings -> Tags & Layers, call it "Overlay"

  2. Place your rotating item mesh object on this layer, at the world origin for simplicity. Remove any physics components so it doesn't interact with the rest of your scene, or forbid interactions between this layer and the others in your physics settings.

  3. Create a new camera, whose culling mask sees only this Overlay layer.

    Adjust its framing (position, rotation, field of view...) so it shows your spinning object the way you want.

  4. Create a RenderTexture with the pixel dimensions you need for your spinning object on-screen. You can create this via script at runtime if you need its size to adapt to the current screen/window size.

  5. Add this RenderTexture as your Overlay camera's target texture.

  6. Add a RawImage to your UI, referencing the RenderTexture as its source. Now you have a UI object that shows the view of your spinning object, and you can position it within the UI layout as you like.

  7. When you don't want to see this object overlay, hide the RawImage component and disable the second camera and spinning object, so you're not paying to update them.

\$\endgroup\$
1

You must log in to answer this question.

Not the answer you're looking for? Browse other questions tagged .