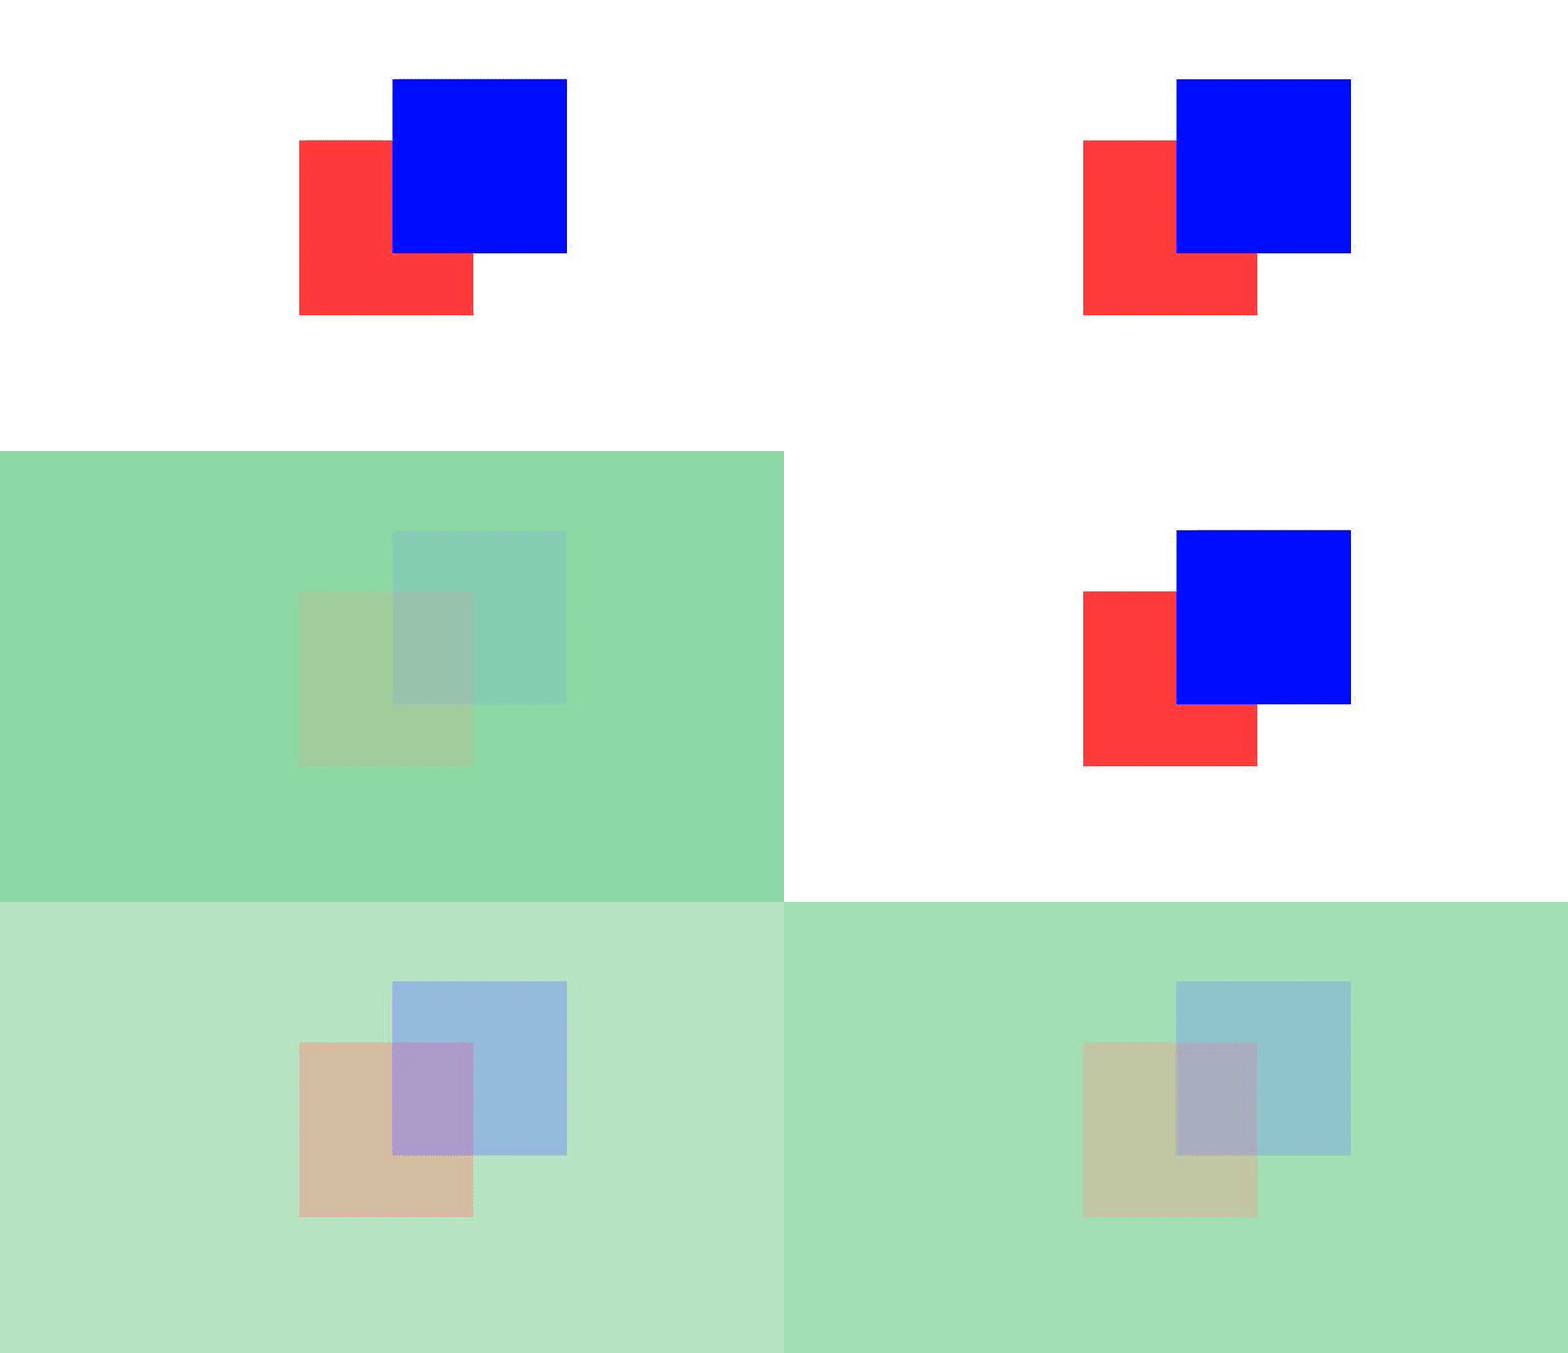
CanvasGroup applies its alpha value to each child UI element individually. That's why your sprites don't blend like they were one.
You can avoid this problem using a Render Texture before applying transition effects. This temporary texture contains all your UI elements in a single image. Then, you change its alpha value to fade it out.
Arrange the UI elements
We will render certain UI elements separately from the others. To do so, we first create a new Canvas GameObject. Then, we move the UI elements of interest in the Hierarchy as its children. Note: such new Canvas has no CanvasGroup Component. Let's call it FadeCanvas for simplicity.
Set up the Canvas Component
Select the FadeCanvas GameObject, and change the Canvas Component Render Mode value to 'Screen Space - Camera'. Unity will prompt you to specify a Render Camera.
Create a new Camera as a child of your Main Camera. (It's a child just for in-editor management purposes). Let's call it UICamera, and set its Culling Mask to 'UI' only.
Now, select FadeCanvas again, and drag and drop UICamera in the Render Mode field box.
Create and assign the Render Texture
Create a Render Texture from the Project window (or via Assets > Create > Render Texture). Select the UICamera, and drag and drop the Render Texture in the Target Texture field box.
Note: you need to set the Render Texture size to the current screen size via code. Otherwise, the Render Texture won't be the correct size when rendering.
Display the Render Texture
In your primary Canvas GameObject, create a RawImage and assign the Render Texture as its Texture source. Transparency is achieved by changing the alpha value of the color attribute.
If the Render Texture's size is the same as the screen's, stretch it across the whole Canvas via RectTransform's Anchor Presets.
This solution may be a bit tricky to set up. I recommend it for complex, dynamic UI setups. If no elements are overlapping, fall back to CanvasGroups and alpha values. If objects overlap but then nothing else moves, you can optimise by rendering UI on the Render Texture only when changes occur. If you deactivate the UICamera, the Render Texture will contain the last rendering pass.


