9
\$\begingroup\$

I'm using Screen.SetResolution()

But when I run in Android device, it shows the output image is stretched to fill up the full screen which I don't want. I want it to keep the aspect ratio properly.

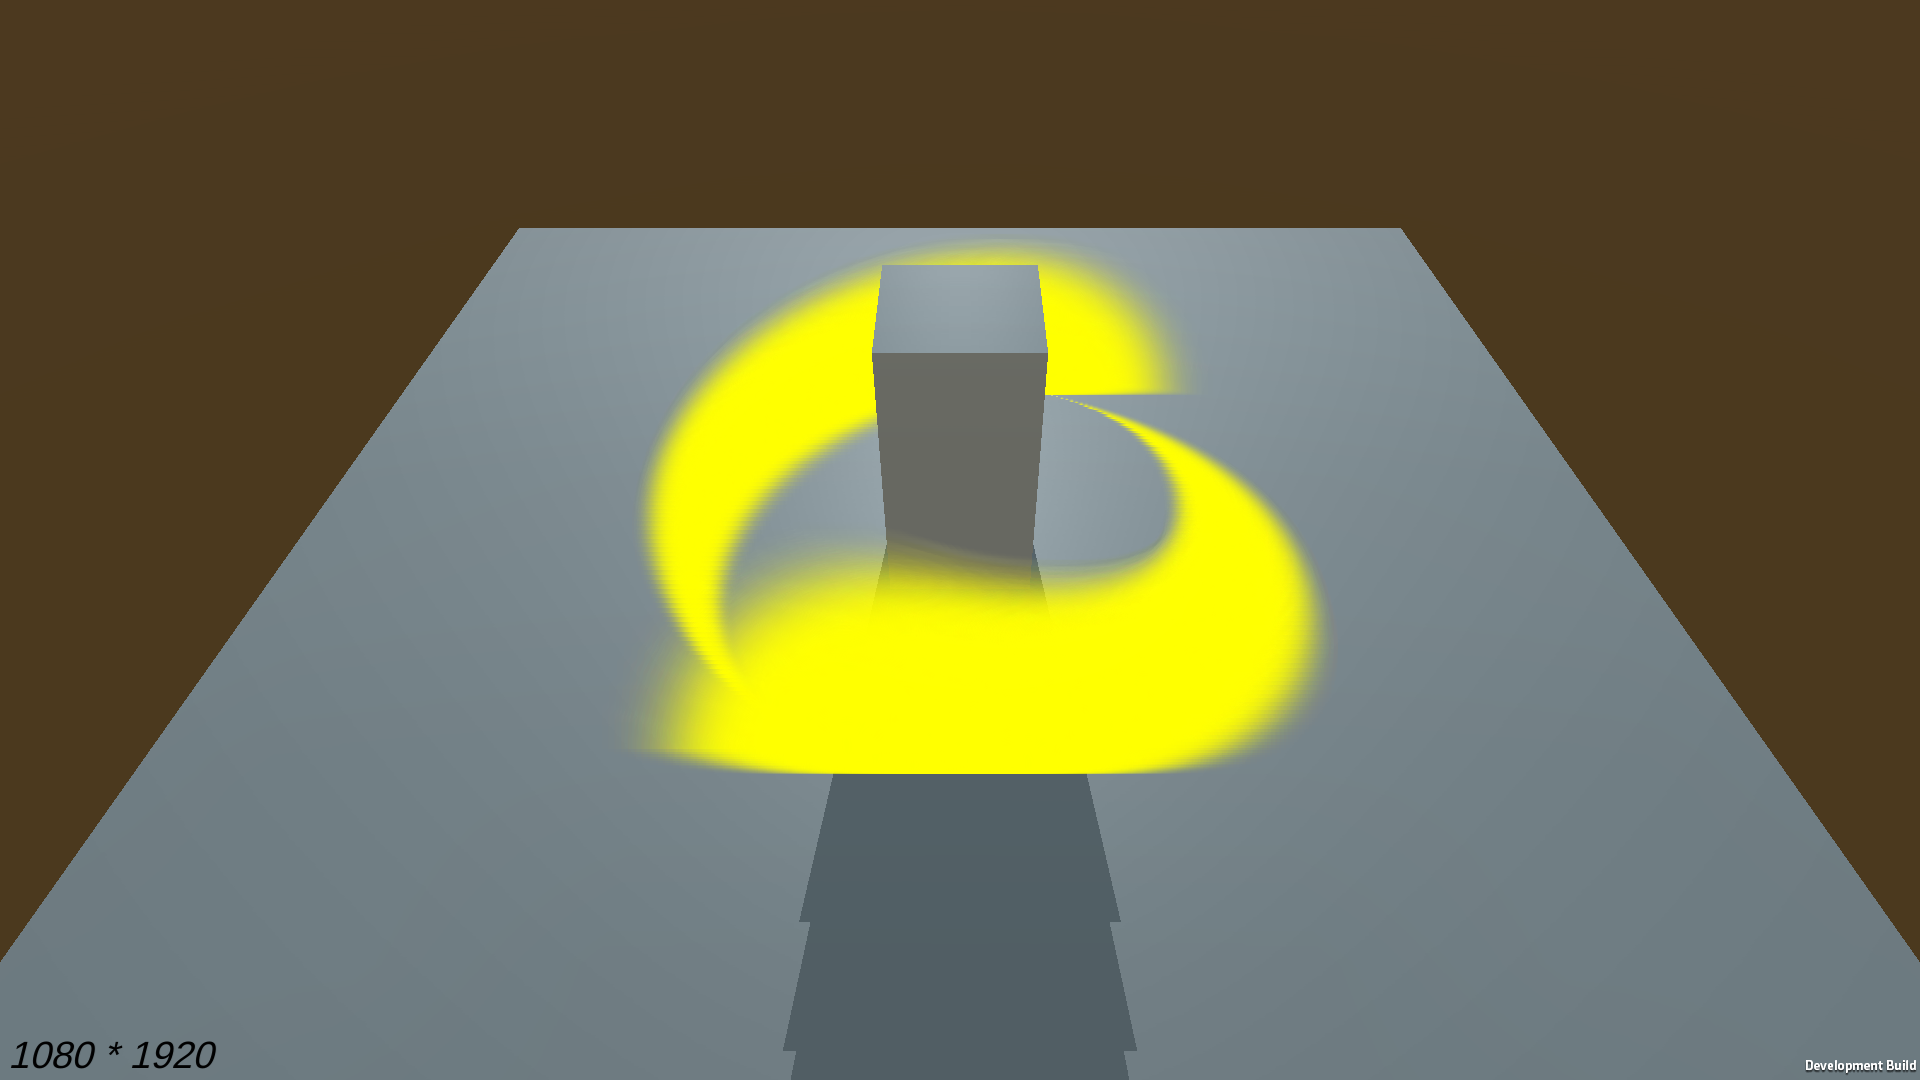
Example 01 : This is coincidentally match and ok because my device screen aspect is 16:9. enter image description here

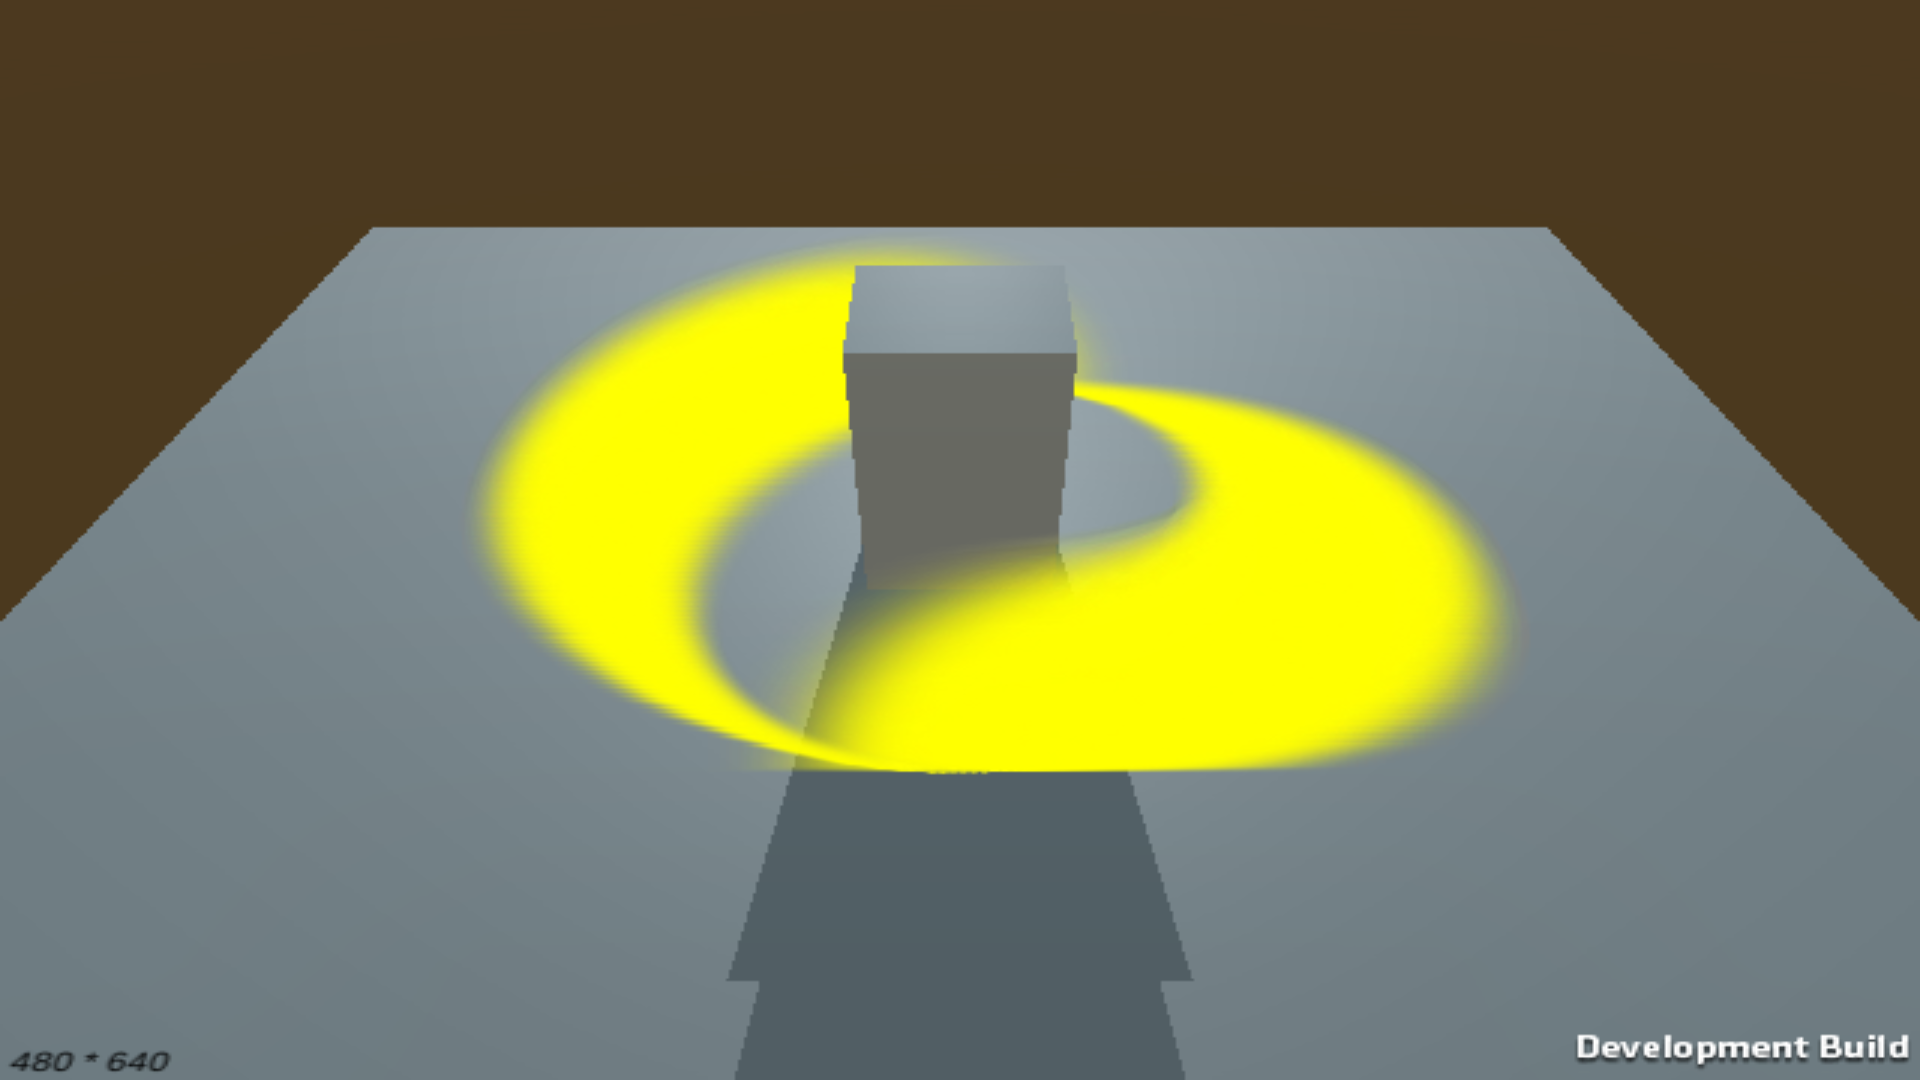
But here is the incorrect one (stretched)

Example 02: This is 640 x 480 in resolution but it should remain in aspect ratio of 4:3.enter image description here

How could I keep it's aspect ratio and [make it black at the extra space outside] or [customize it using my own image to cover the extra space]? in Android.

Note: I'm not talking about the canvas but entire output view.

\$\endgroup\$

2 Answers 2

11
\$\begingroup\$

For desktop games you can control the supported aspect ratios directly in

Edit -> Project Settings -> Player -> Resolution and Presentation

But for mobile, or situations where your aspect ratio might change during play (eg. resizing a window dynamically), or you want to use letterboxing for artistic effect, we'll need an in-game solution.

You can attach the following script to your Camera to resize its viewport to fill the biggest, centered rectangle of your target aspect ratio that will fit in your current screen/window.

Note that this won't on its own set the resolution of the frame buffer you're rendering to. If you want to render only eg. 640x480, I'd recommend setting up your camera to render to a RenderTexture with that resolution. Then you can present the resulting texture to the screen using a screenspace overlay canvas with a RawImage, or a second camera.

using UnityEngine;

[RequireComponent(typeof(Camera))]
public class CameraCrop : MonoBehaviour {

    // Set this to your target aspect ratio, eg. (16, 9) or (4, 3).
    public Vector2 targetAspect = new Vector2(16, 9);
    Camera _camera;

    void Start () {
        _camera = GetComponent<Camera>();
        UpdateCrop();
    }

    // Call this method if your window size or target aspect change.
    public void UpdateCrop() {
        // Determine ratios of screen/window & target, respectively.
        float screenRatio = Screen.width / (float)Screen.height;
        float targetRatio = targetAspect.x / targetAspect.y;

        if(Mathf.Approximately(screenRatio, targetRatio)) {
            // Screen or window is the target aspect ratio: use the whole area.
            _camera.rect = new Rect(0, 0, 1, 1);
        }
        else if(screenRatio > targetRatio) {
            // Screen or window is wider than the target: pillarbox.
            float normalizedWidth = targetRatio / screenRatio;
            float barThickness = (1f - normalizedWidth)/2f;
            _camera.rect = new Rect(barThickness, 0, normalizedWidth, 1);
        }
        else {
            // Screen or window is narrower than the target: letterbox.
            float normalizedHeight = screenRatio / targetRatio;
            float barThickness = (1f - normalizedHeight) / 2f;
            _camera.rect = new Rect(0, barThickness, 1, normalizedHeight);
        }
    }
}

Because this doesn't change your camera's FoV or Height settings, the composition of game content displayed inside the camera view will stay the same - it will just grow or shrink the whole view to fit in the new crop.

Out of the box, the letterbox / pillarbox bars will just be the default colour of the framebuffer (generally cleared to black). You can fill these areas with graphics using a screenspace overlay canvas or additional cameras.
\$\endgroup\$
4
  • \$\begingroup\$ normalizedHeight is the portion of the height of the window that should be used for rendering. 0 means none, and 1 means use the entire height. \$\endgroup\$
    – DMGregory
    Commented Jul 30, 2018 at 12:02
  • \$\begingroup\$ This is very neat, unfortunately it didnt work for me on unity 2021.3.4 (maybe was my fault dunno). But this FOSS plugin worked. github.com/rabidgremlin/LetterBoxer/releases/tag/v1.1.0 youtube.com/watch?app=desktop&v=ZSQWrH96bew \$\endgroup\$
    – Nande
    Commented Jun 30, 2022 at 4:33
  • \$\begingroup\$ "Didn't work" is never enough information to diagnose and solve a problem. Be sure to always include a detailed description of what you tried and what the exact symptoms were. You can post a new question if you need more space / formatting options than a comment. \$\endgroup\$
    – DMGregory
    Commented Jun 30, 2022 at 12:22
  • \$\begingroup\$ Thanks for the suggestion but i wasn't trying to solve my problem, that would be hijacking the original post, just sharing another alternative. \$\endgroup\$
    – Nande
    Commented Jul 1, 2022 at 3:55
-1
\$\begingroup\$

according to docs you can use Projection and camera view

you apply projection and camera view by first adding a matrix member to the vertex shaders of your graphics objects. With this matrix member added, you can then generate and apply projection and camera viewing matrices to your objects.

\$\endgroup\$
1
  • 3
    \$\begingroup\$ This answer would be even better if it explained in more detail how to use these tools to achieve the desired effect. :) Code/pseudocode samples or a step-by-step breakdown of the algorithm to use can be very useful to other users. \$\endgroup\$
    – DMGregory
    Commented Nov 14, 2017 at 18:18

You must log in to answer this question.

Not the answer you're looking for? Browse other questions tagged .